A simple and tasty recipe that has gone around the world, let’s talk about themargherita pizza.

Pizza has very ancient origins; the term would seem to derive from the Latin verb “pinsare” meaning to crush. It can have different shapes and toppings, but of all pizzas, pizza margherita remains undoubtedly the best known.
The pizza topped with tomato, mozzarella and basil was created by a Neapolitan pizza maker in 1889 in honor of Queen Margherita of Savoy.
Fun fact: The 3 ingredients represent the tricolor of the Italian flag.
Star chef Mattia Poggi shows us how to prepare it quickly and easily in the Pulcinella Clementi wood-fired oven.
INGREDIENTS
PREPARATION:
1) First, let’s get a bowl in which to dissolve the yeast in with the water. Remember that the water must be lukewarm. Let’s pour the water (about ½ liter) into the bowl and with our hands dissolve the yeast. Be careful, we must not put salt in now or we will burn the yeast!
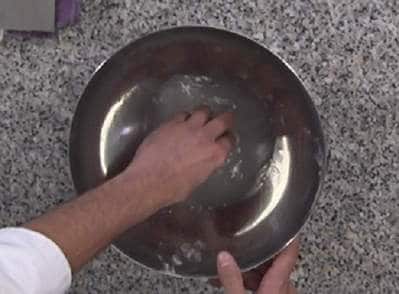
2) We pour some flour into the bowl and with our fingertips start to knead. Now, as long as there is water, we can put salt without taking any risks. If we want to make a gluten-free pizza it will be necessary to use a gluten-free flour base.
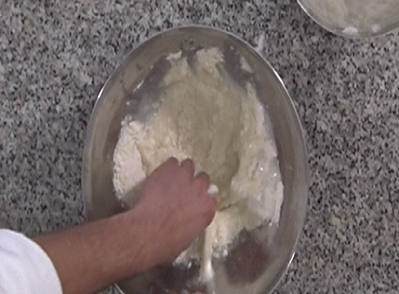
3) We add some more flour until we reach the right consistency of dough. To see if the resulting consistency is good, we need to make sure that it is very soft.
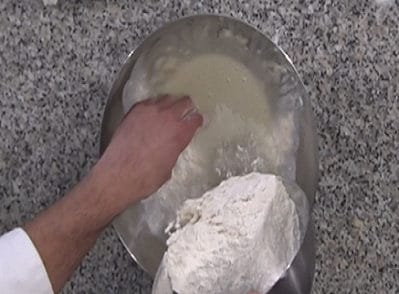
4) Once the dough is created, we can roll it out by hand.
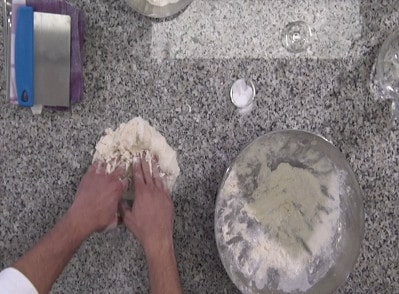
5) When finished rolling out, place the dough in a bowl to rise and cover it with a tea towel.
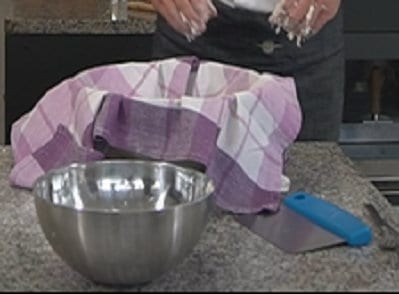
6) At this point we can decide on the rising time. We recommend letting it rise for 12 hours inside the refrigerator. After this time has passed, we remove the dough from the refrigerator, put it in the turned-off oven and wait a couple of hours. Once the rising time is over, we can form the loaves. Once made, we need to dip them in flour one by one and let them rest for an hour.
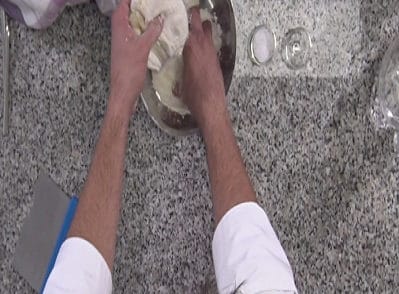
If we don’t have that much time, we can let the dough rise just a few hours, 4 may be fine. In order for the dough to become soft and elastic, halfway through rising, about 2 hours, we can form the buns and let them rise again for another 2 hours.
On the other hand, if we used a dough made with gluten-free flour, we need to know that this type of dough tends to have a smaller and slower leavening process. So at least one night is needed for the leavening process to be complete. It is also essential to leave the dough out of the refrigerator, preferably inside the oven.
7) While the pizza buns are finishing rising, we can start turning on our oven. The best ovens for baking pizza at home are direct-fired wood-fired ovens for Neapolitan pizza and Roman pizza, while indirect-fired ovens are recommended for pizza by the slice and in pans. Wood-fired ovens are preferred because traditional ovens, even if ventilated, tend to make pizza too dry.
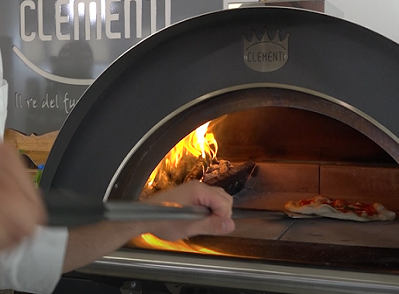
For optimal baking, the oven must be at 350/400°C. A Clementi direct fired wood-fired oven takes 15 to 20 minutes to reach a temperature of 400°C.
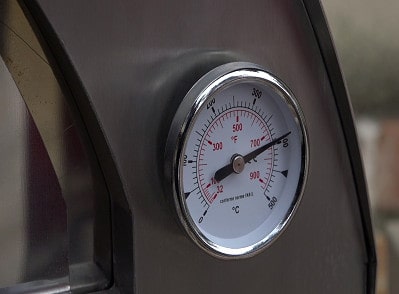
The secret to having perfect pizza baking also lies in the way the oven is turned on. By lighting the fire in the center of the refractory top and moving the embers to the left side of the oven, we will have the right temperature both in the baking chamber and on the refractory in no time. In this way we will get a pizza that is perfectly cooked in the center, along the edges, and will remain good, digestible, and crispy.
8) When the desired temperature has been reached, we can roll out the buns. It is a good idea to always use your fingertips to roll them out. Another method to make them even softer and more elastic is to drop them a little from the workbench.
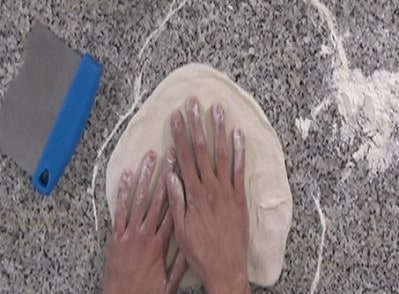
9) Once we have finished rolling out the rolls, we can start with the toppings. We put enough tomato sauce on top of the pizza base and a pinch of salt. We add a drizzle of extra virgin olive oil and some mozzarella cheese that has been frayed with our hands so that it melts well. Finally, a few basil leaves.
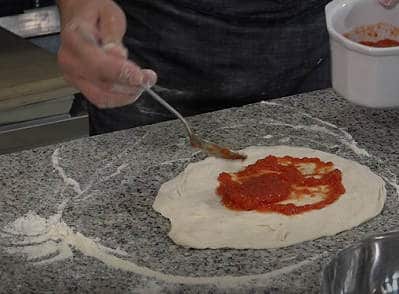
10) At this point we can bake the pizza inside our wood-fired oven. The cooking time for a pizza is 2-3 minutes. We must remember to turn it with the shovel, as the pizza cooks only on one side. Let’s turn it occasionally with the shovel and raise it to look at the whiter areas by putting it on the fire side. To make it cook more evenly, let’s try to keep the pizza always in the same area of the oven careful not to get it too close or far from the heat source.
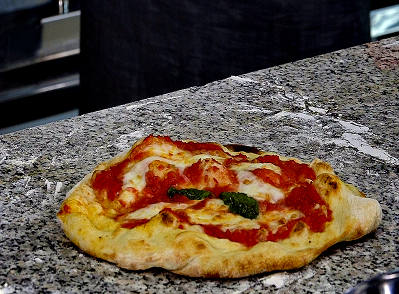
11) Out of the oven, we can add a few more leaves of fresh basil and serve our homemade pizza. Enjoy!
Want to stay up-to-date on recipes and industry news? Sign up for our newsletter!
To join the Clementi family tag your photos and videos on social media with @clementi-theredelfuco and join our community!
Do you want to start making pizza with a wood-fired oven? Learn about our products.